How to Replace Default VMware ESXi SSL Certificate?
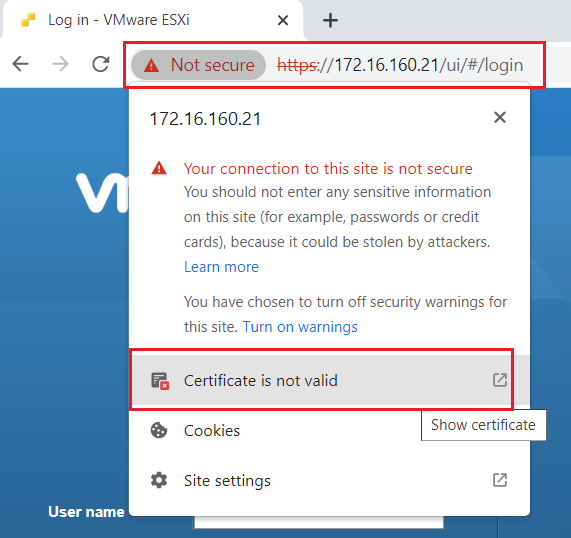
To improve security in your virtualized environment, it is advisable to use the signed certificates because a ‘self-signed’ certificate will not be trusted by default in its communications with other systems.
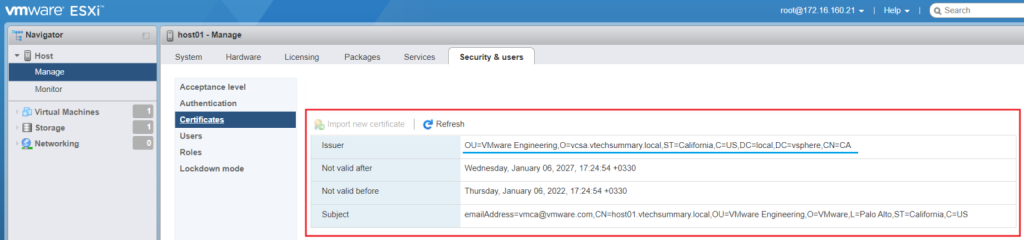
ESXi host uses default certificates that are created during installation. These certificates are not verifiable and are not signed by a trusted certificate authority.
How to Replace VMware ESXi Certificate
Join ESXi to Domain
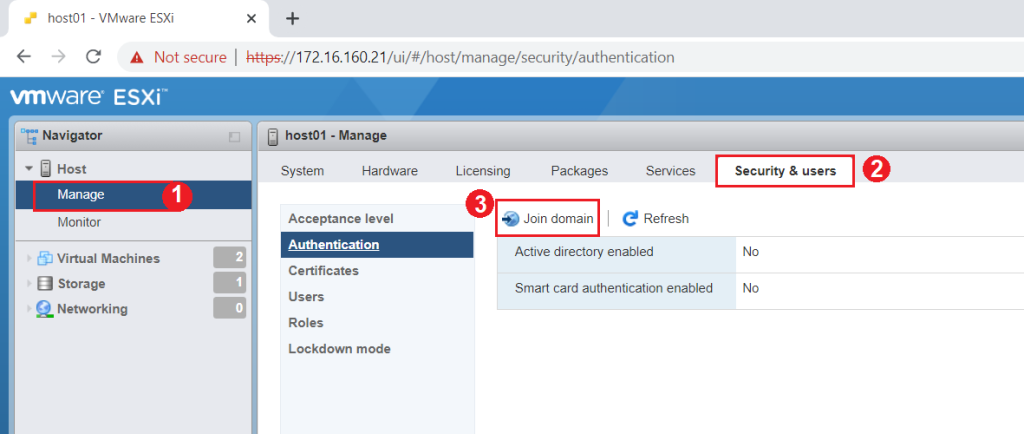
In the first step, connect the hosts to the domain. To join that you can do it through ESXi Host Client.
Step 01. For example, enter ESXi Host Client and in the Manage menu select the Security tab and then click on the Join Domain option.
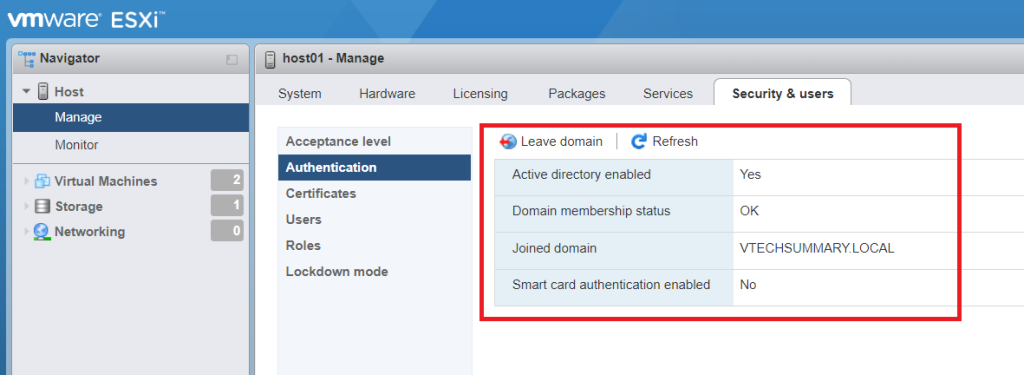
Step 02. In this view fill in all requirements based on your infrastructure environment and on the end click on Join Domain.

Step 03. After a few minutes, ESXi Host joined Domain and you can see this view.
Prepare OpenSSL File
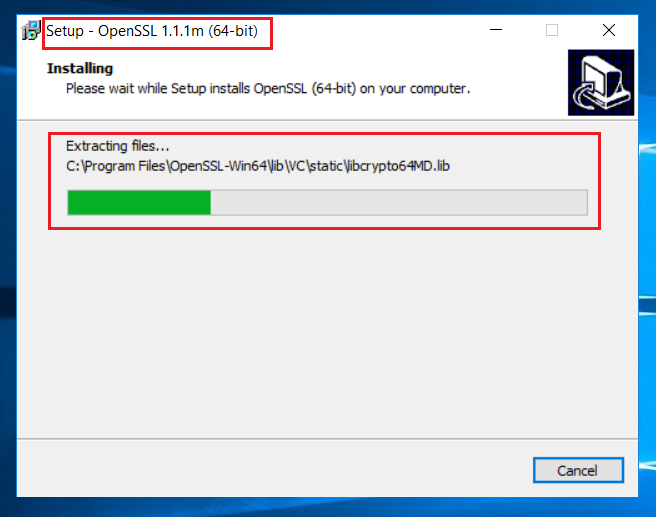
We will be using OpenSSL to create the self-signed certificates and then send them over to our CA server to sign them. So at the first, we must config the OpenSSL file to proportion our ESXi server.
Step 01. Download OpenSSL from this Link.

Step 02. Install OpenSSL, then go to the installed address and take a copy of the ‘openssl.cfg’ file as a Backup keeps in another location.
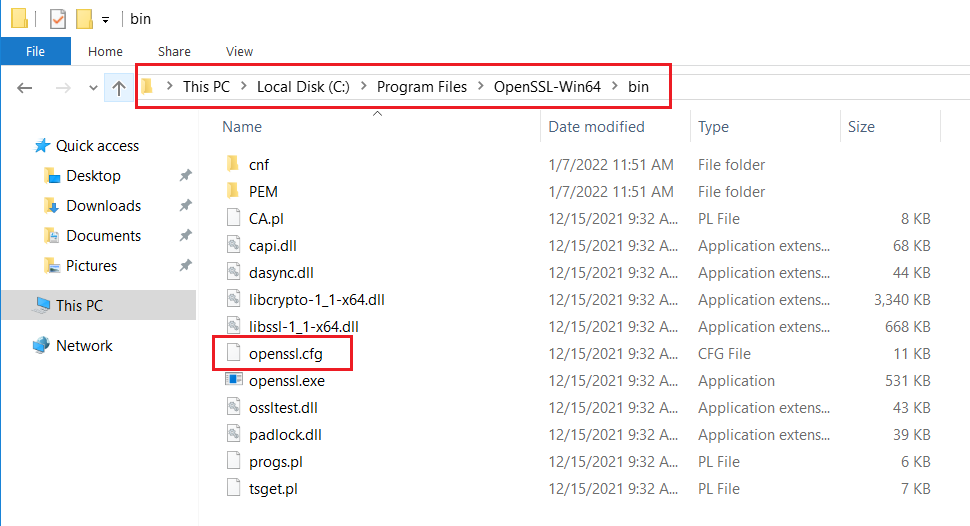
Step 03. Open the ‘openssl.cfg’ file with Notepad Erase all content and write the below Example proportion to your ESX Host then Save that.
For Example:
[ req ]
default_bits = 2048
default_keyfile = rui.key
distinguished_name = req_distinguished_name
encrypt_key = no
prompt = no
string_mask = nombstr
req_extensions = v3_req

[ v3_req ]
basicConstraints = CA:FALSE
keyUsage = digitalSignature, keyEncipherment, dataEncipherment
extendedKeyUsage = serverAuth, clientAuth
subjectAltName = DNS:host01, IP:172.16.160.21, DNS:host01.vtechsummary.local

[ req_distinguished_name ]
countryName = IR
stateOrProvinceName = TEH
localityName = TEH
0.organizationName = vTechSummary.com
organizationalUnitName = IT
commonName = host01.vtechsummary.local

Step 04. Open Command Prompt or PowerShell and use the below command to create a CSR request.
cd c:/Program Files/OpenSSL-Win64/bin
openssl req -new -nodes -out rui.csr -keyout rui-orig.key -config openssl.cfg
When you run the above command, automatically three below files will be created.
rui.csr
rui.key
rui-orig.key

Take a Certificate from CA Server
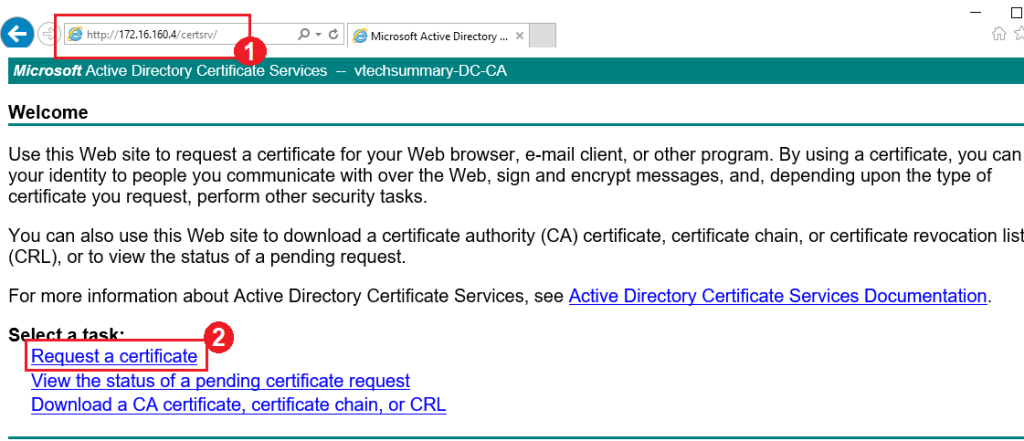
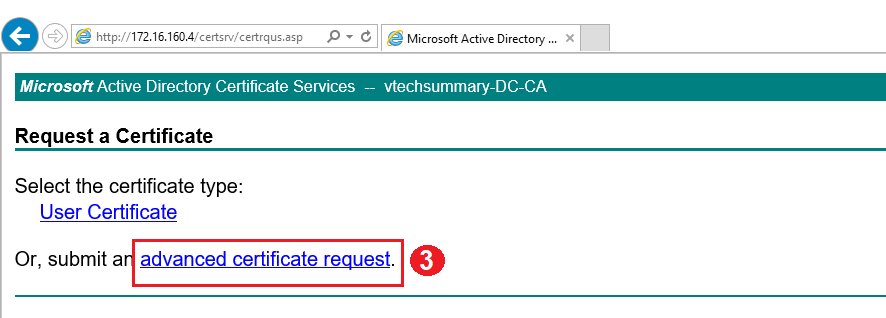
Step 01. Login to CA Server and proceed with Certificate Request as follow:
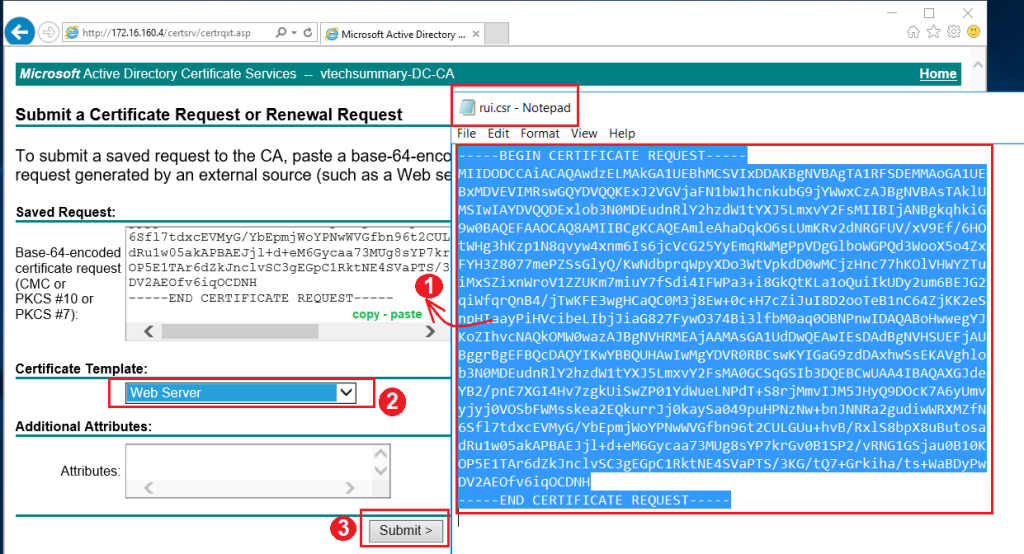
Step 02. Open ‘ rui.csr ‘ file and Copy all content in the Saved Request box. then select Web Service as a certification template and click on Submit.
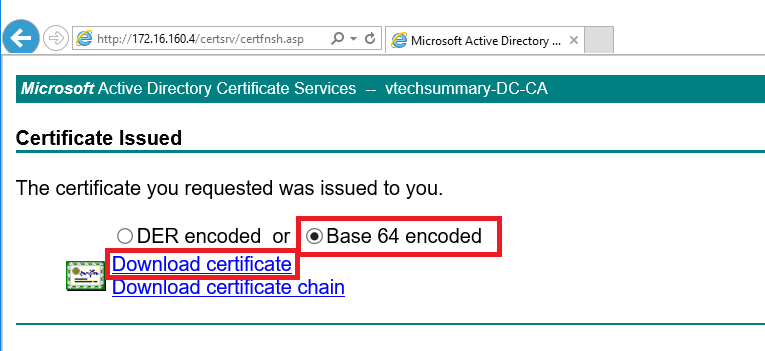
Step 03. Select Based-64 Encoded option then Download the Certificate. After downloading rename the file to ‘ runi.crt ‘.
Replace the SSL Certificate
Step 01. Enable ESXi SSH service.
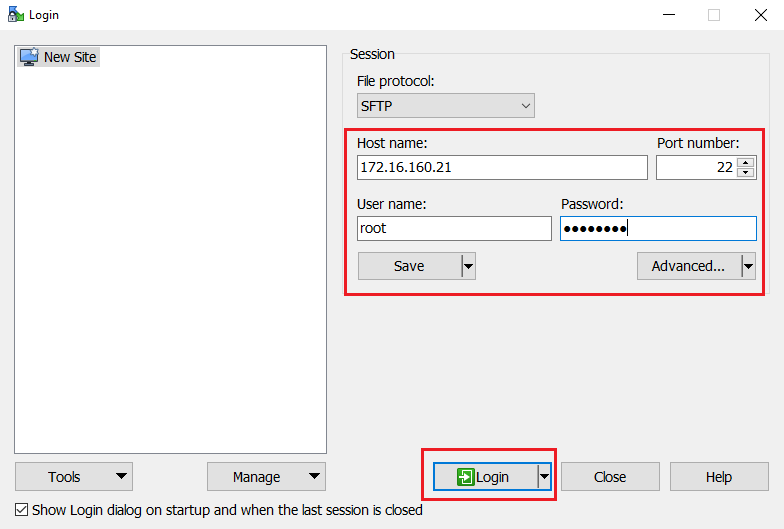
Step 02. Through the WinSCP or other software login to the ESXi Host.
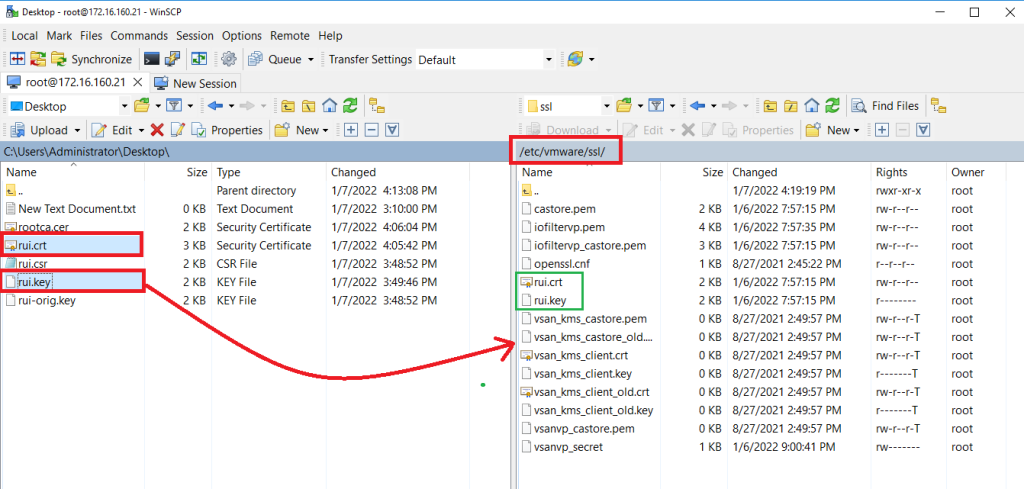
Step 03. GO to the ‘ /etc/vmware/ssl ‘ address and Copy the below files on the ESXi.
rui.crt
rui.key
Step 04. Through the Putty connect to ESXi and run the below command.
/sbin/services.sh restart
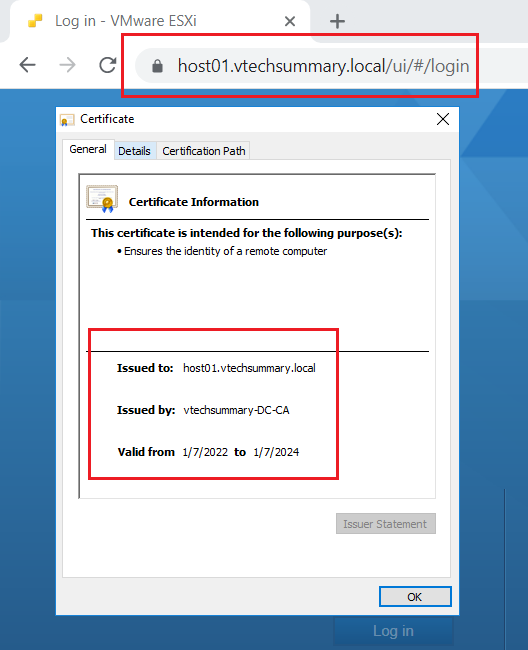
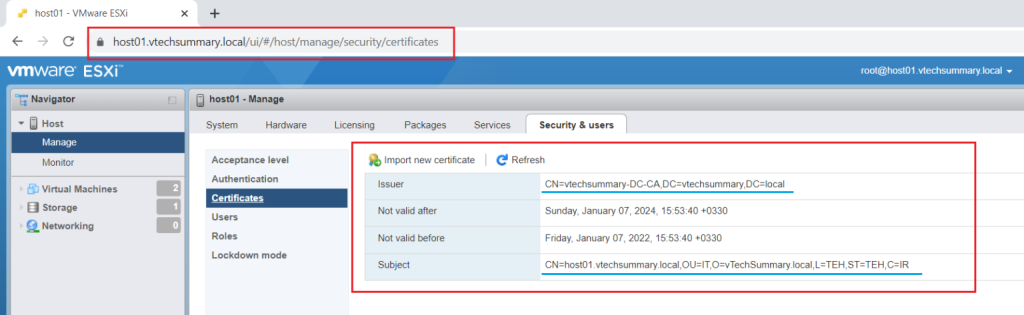
Finally, after finishing the services restart, when you want to login to ESXi through the browser you can see, ESXi Certificate replaced and now that is Valid.