How to Replace Default VMware vCenter SSL Certificate?
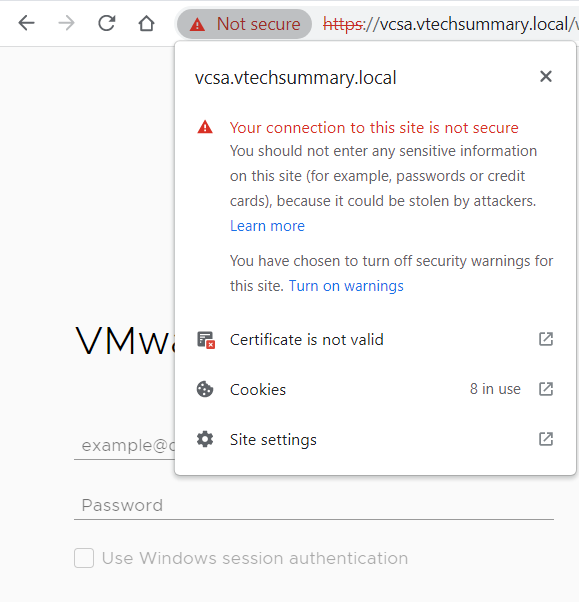
To improve security in your virtualized environment, it is advisable to use the signed certificates because a ‘self-signed’ certificate will not be trusted by default in its communications with other systems.
In this post, I will be sharing information on replacing self-signed certificates with Certificate Authority (CA) signed SSL certificates in a VMware vCenter environment. VMware has prepackaged the vSphere Certificate Manager utility to automate the replacement process.
The vSphere Certificate Manager utility provides all workflows to replace or regenerate the Machine SSL Certificate, Solution User Certificates, and the VMCA Root Signing Certificate on the vCenter Server and Platform Services Controller.
Generate a certificate request
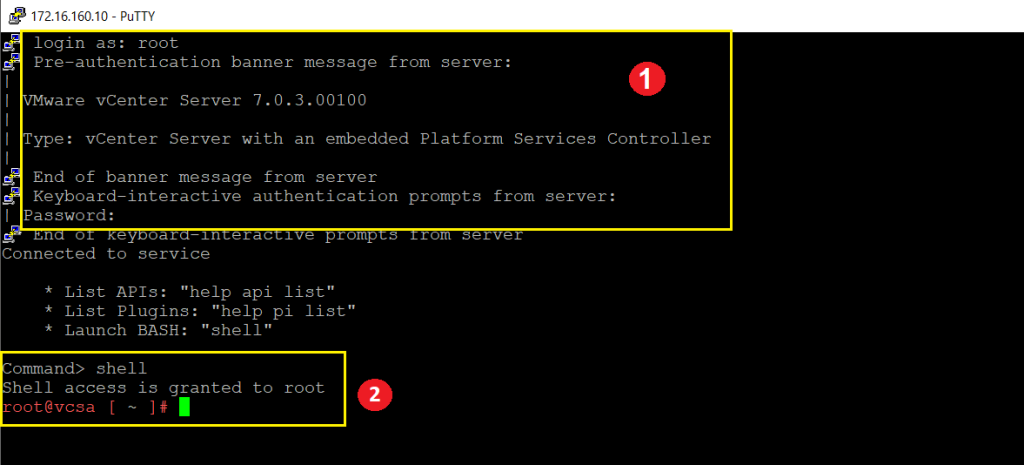
Step 01. Log in to vCenter Server (VCSA) as Root access through SSH, then launch the Bash environment by typing Shell.
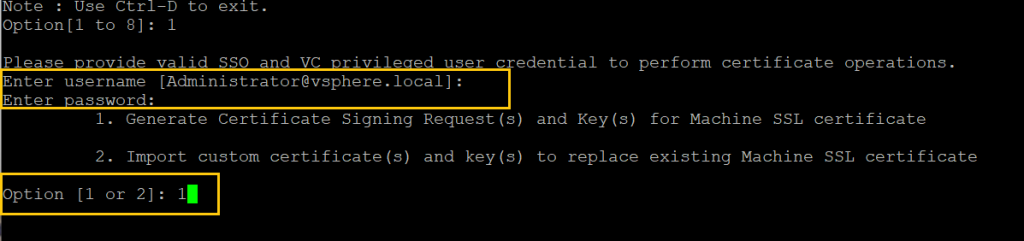
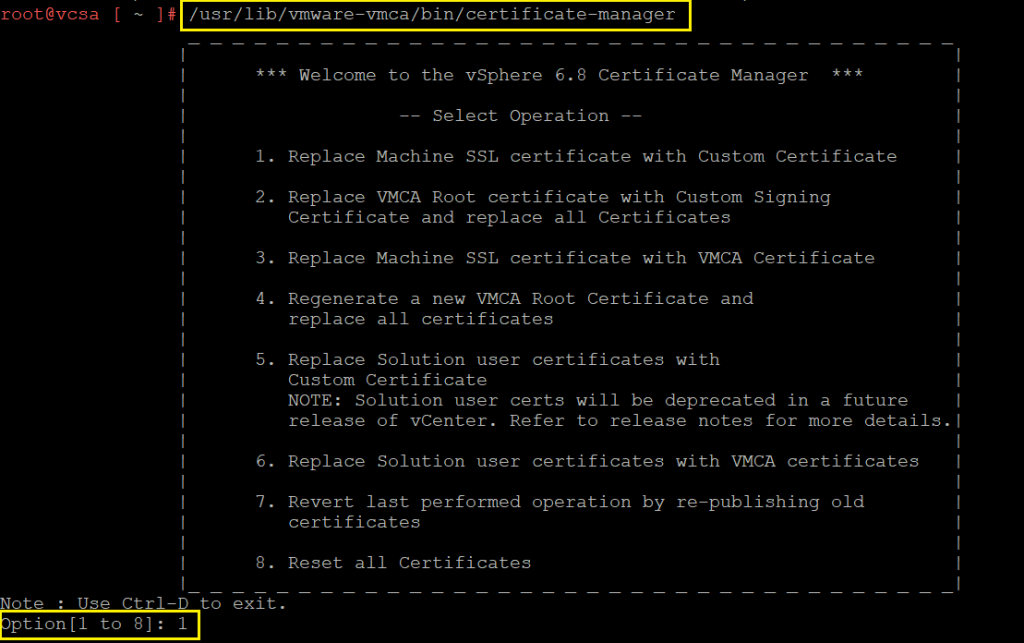
Step 02. Run the below command and select the operation 1 option.
/usr/lib/vmware-vmca/bin/certificate-manager

Step 03. Enter the vCenter Administrator credential and select the number 1 option.
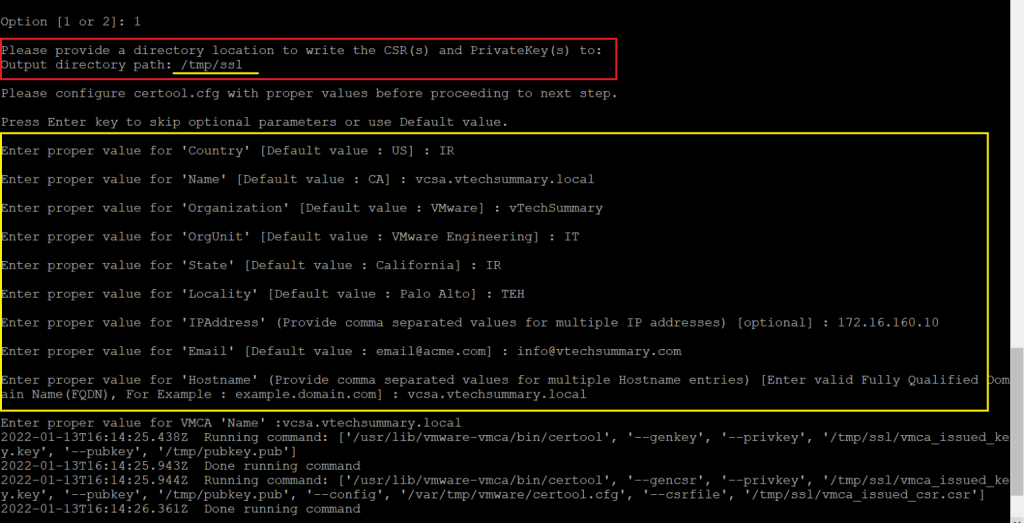
Step 04. Specify fill the following options:
Enter proper value for 'Country': your country in 2 letters
Enter proper value for 'Name': the FQDN of your vCenter
Enter proper value for 'Organization': an organization name
Enter proper value for 'OrgUnit': name of your unit
Enter proper value for 'State': your contry name
Enter proper value for 'Locality': your city name
Enter proper value for 'IPAddress': the vCenter IP address
Enter proper value for 'Email': your email address
Enter proper value for 'Hostname': the FQDN of your vCenter
Enter proper value for 'VMCA Name': the FQDN of your vCenter
Step 05. After once the Private Key and the Request are Generated select the number 2 option to Exit.

Take a Certificate from CA Server
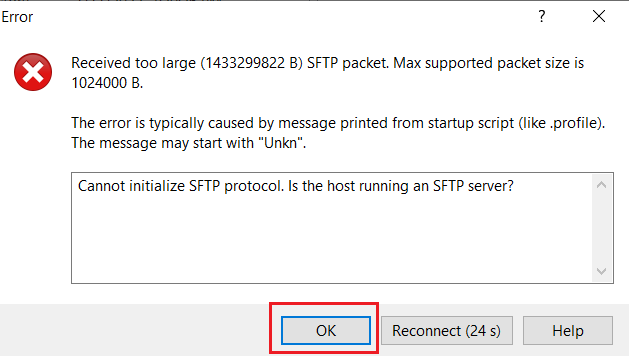
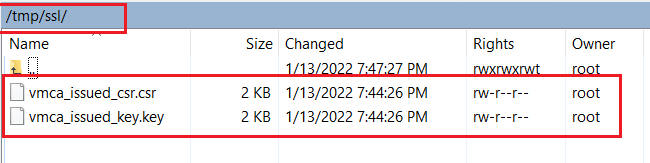
Step 01. We have to Export the Request and key from the /tmp/ssl in vCenter, and we used WinSCP software for this operation.

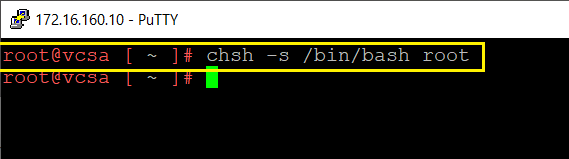
If when logging in, see the below Error, run chsh -s /bin/bash/root and try again to login.
Step 02. Go to the /tmp/ssl path and copy both files into your local system.
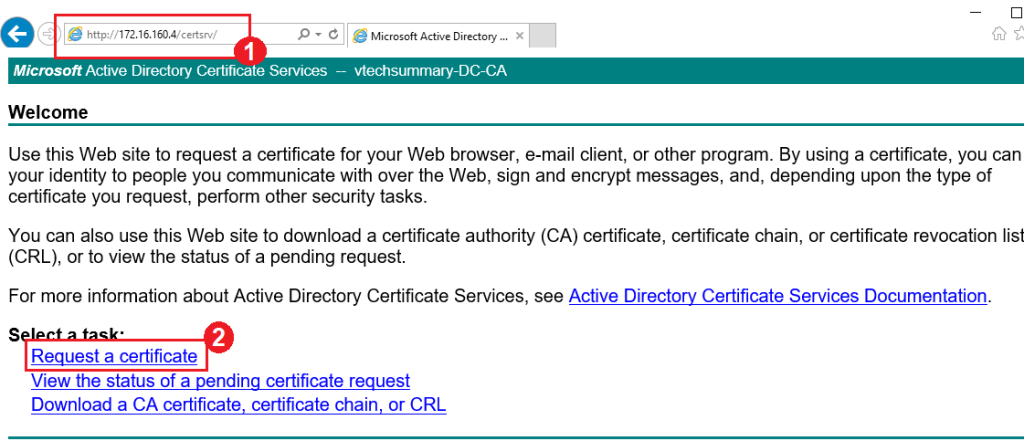
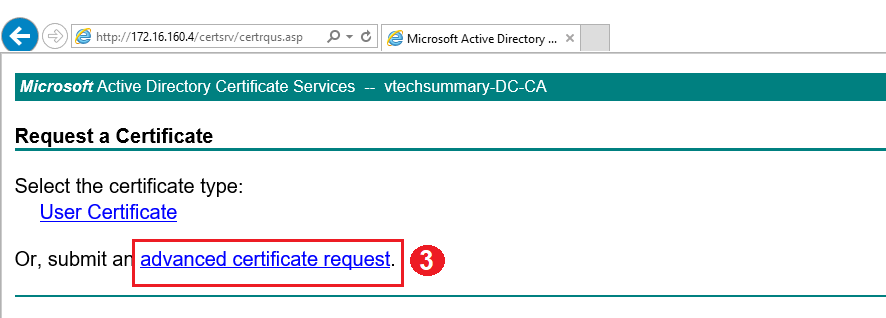
Step 03. Login to CA Server and proceed with Certificate Request as follow:
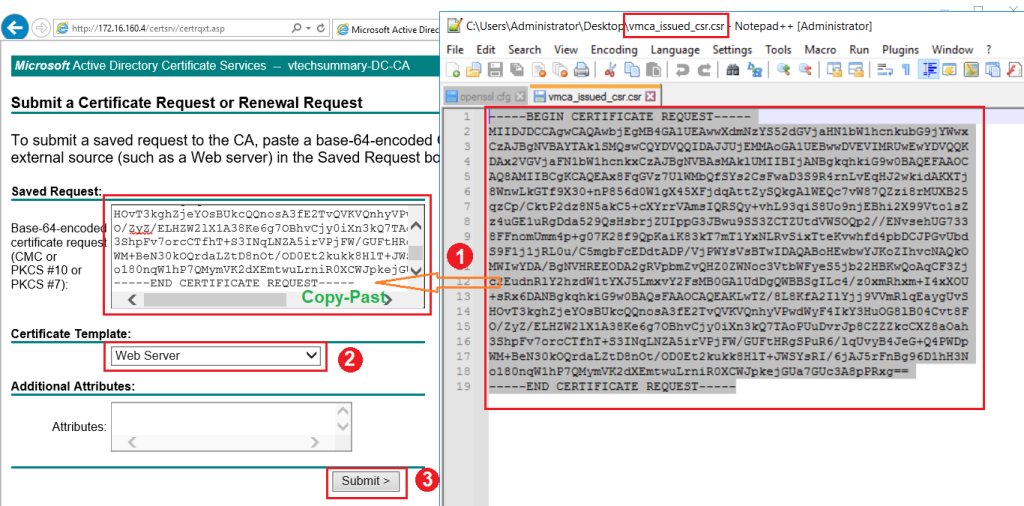
Step 04. Open ‘ vmca_issued_csr.csr ‘ file and Copy all content in the Saved Request box. then select Web Service as a certification template and click on Submit.
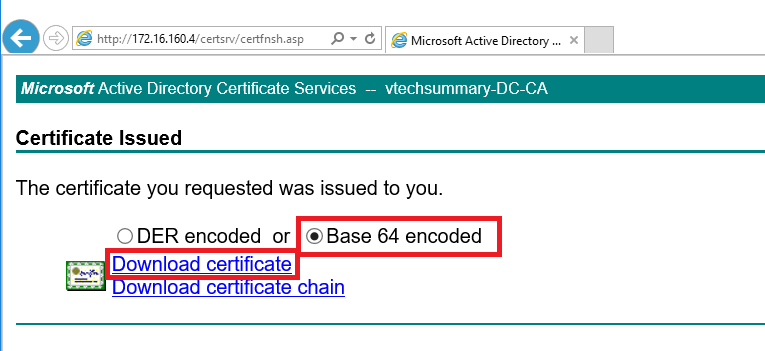
Step 05. Select Based-64 Encoded option then Download the Certificate. After downloading, I rename the file to ‘ vcsacert.cer ‘, and I have already Root CA with the name ‘ rootca.cer ‘.
Step 06. Login to the vCenter appliance using WinSCP and Copy both above Certificate files to a location. My location is ‘ /tmp/ssl ‘.

Step 07. Again login to VCSA by using SSH and run the below command and select the number 1 option.
/usr/lib/vmware-vmca/bin/certificate-manager
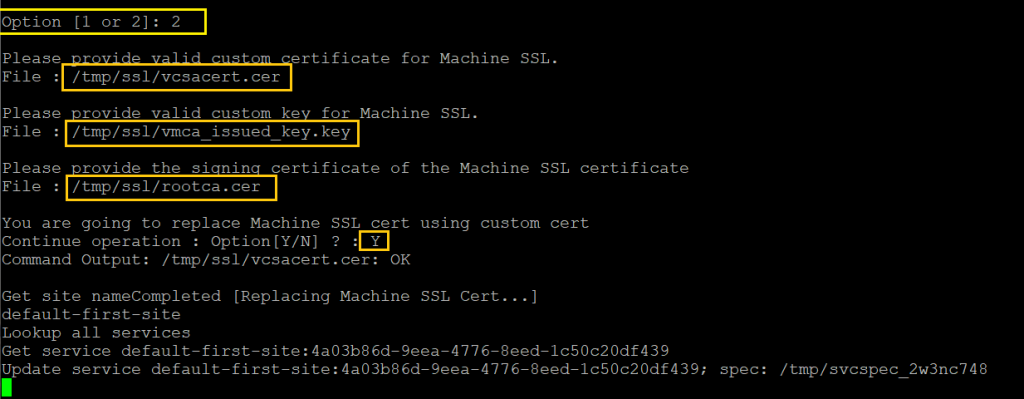
Step 08. Enter the vCenter Administrator Cedential and select the number 2 option. Add the Exported Certificate and Generated key path from previous steps and Press Y to confirm the change.
Custom certificate for machine SSL: /tmp/ssl/vcsacert.csr
Valid custom key for machine SSL: /tmp/ssl/vmca_issued_key.key
Signing certificate of the machine SSL certificate: /tmp/ssl/rootca.cer
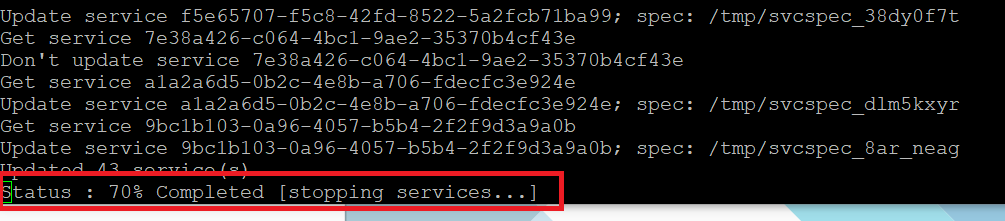
Step 09. It will take little time to complete and you can see the below message:
Status: 100 % Completed [All tasks completed successfully]
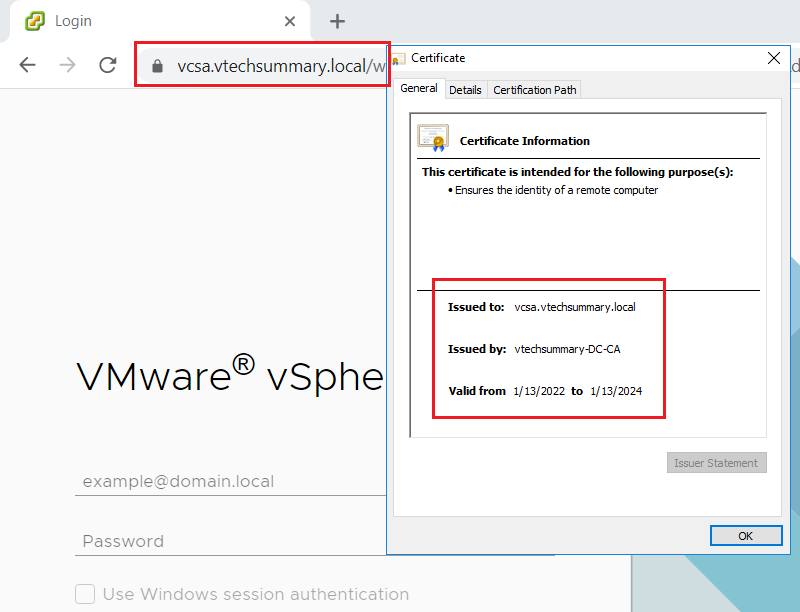
Finally, Now Connect to the vCenter using Web Client and you can see the New Custom Certificate.